
A 3D Printed (Cosplay) Journey: Thoughts, Tips & Tricks
- Sarah C. Awad and Dhemerae Ford
- Aug 4, 2016
- 8 min read

Kicking off some written content for our Comic Con Chronicles series, we wanted to bring up some preliminary points we both practice and have learned while working on 3D printed cosplay. So, for those of you just now prepping for New York Comic Con 2016 or another upcoming convention you plan on cosplaying to, let us help you as you begin your journey!
Set your Context, physically and conceptually:
Dhemerae and I always keep the following list of questions in mind not only as we are beginning the brainstorming process, but also as we work, for they keep us grounded and pragmatic as we create with our heads in the clouds. Being mindful of these contexts may save you headaches further down the road!
Regarding the convention/event itself:
Where is the venue located?
What possible weather conditions could you encounter while you are there?
How are you getting there? How do you need your pieces to travel?
What is weather like? Could you possibly do an outdoor photoshoot while you are there? How long it needs to last? How you need to feel in it?
Regarding your character/character design:
Is your character maybe getting a lot of action, and would potentially have battle damage or dirtied clothing?
Is your character royalty or of high status? What materials would they be wearing in contrast to their subjects?
What are the most iconic/important aspects to the character's garb?
At what point in the character's story do you visualize him or her, and is that important regarding how you construct things?
Do you want to look just like your character, or look like you as your character?
Obviously, you can only project so far in the future, for many things on your costume will change as you move forward, but being mindful of all the context is going to cut down time on your prototyping, as well as tie up any dangling concepts you may have.

Screenshots from our extensive Pinterest boards for our "Lightning As" project
Be a Method Actor
Watch the films, play the games, look at figurines, read art books, see other cosplayers' interpretations, make Pinterest boards; 3D printing cosplay is all about materiality, and the journey of manipulating those materials in ways that best suit the nature of your character's garb.
It is pertinent to be well versed in how the clothes move and function in order to create both a visually rich and practical 3D printed cosplay. Dig deep into the material, get up close and personal with it. If you are cosplaying Ripley from Alien, look for the nuances in her suit's movements, how it changes from different angles and body positions, where Sigourney Weaver needs more flex over solidity in order to pose herself to fight back against the horror she faces. If you want to create Aqua's Keyblade, watch her handle it and see how she uses it in different scenarios to assist your inferences on materials and finishes. All your research will pay off the long run, cosmetically, technically, and personally; physicality aside, this process is a great way to grow closer to character and begin a dialogue with him or her that is solely yours.

Sarah's Preliminary sketches for her Lightning as Cloud Cosplay, a living document!
Go to the Drawing Board - Literally
As individuals with an art background, we always recommend sketching, even if you are "bad at drawing," during the brainstorming process. The physicality of working on paper in contrast to working on a computer can put you in a different mindset, and help you express certain ideas that may not be totally realized digitally (for now). Drawing a cosplay on a person can also help you understand your anatomy in a more up front way, and give you a better sense of scale and function.

From League of Legends, Jinx (right) and Sandstorm Katarina (left)
Choose your Challenge
Depending on your experience with 3D modeling/printing, we recommend choosing your battles wisely, based on your current knowledge, what you hope to learn during this process, and your deadline. Do you want the challenge of attempting a direct replica of a Wonder Woman costume or do an interpretation of her garb based off of contexts you create? Do you want to make one 3D printed part that is highly complicated, i.e. Jinx's gun from League of Legends (pictured above), or a number of relatively less complicated parts, i.e. Sandstorm Katarina? Each scenario, while different, can equalize based on a number of factors.
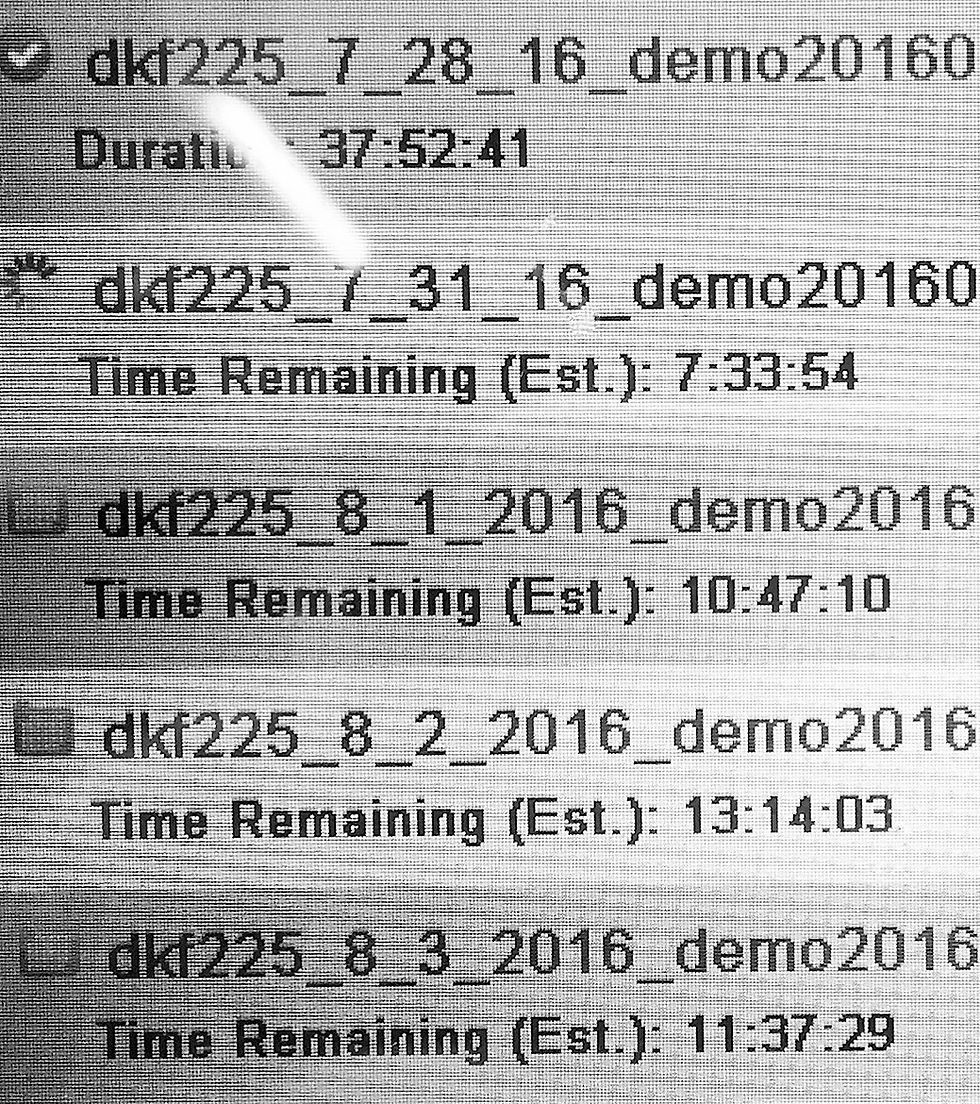
print time estimates for Dhemerae's buster sword, totaling over 73 hours for just the printing!
Layout a Timeline
This may be the most important aspect to your prep work, for your deadline will have great influence on the feasibility of certain ideas, iterations, and materials you hope to print in. Especially for those of you who are making engineered parts, wearables, or for those who are first time 3d printing, iteration is not only inevitable, but vital in making sure everything functions as it needs to. Another thing to factor in is turnaround time if you are working with a vendor such as Shapeways or iMaterialise; your model could be rejected by the vendor and you will have to make adjustments, printers can crash and cause extensions to turnarounds, and unfortunately, parts may break during shipping.
With all of these potential setbacks considered, we recommend that at least three months before your deadline, you have started 3D printing your parts. This frame should be adjusted accordingly, depending on the scale of your project and how you plan to finish them. For us, the earlier you can finish, the better, because you never know what could go wrong- finishing early has no consequences.

Sarah's shoulder piece built off of her body scan she used for last year's armor.
Scan your Body
Whether it is with a high end machine or just with your phone, having a 3D scan of your body to build off of or to reference when building parts of your costume can help you get the closest to perfect fit on you armor, headpieces, and jewelry. It can also be very useful when building weapons to check their sizes. If you are making non - 3D printed parts or applying special effects makeup, you could print parts of your body and work off the physical print.

Dhemerae's Buster Sword in progress!
Work on More Difficult Parts First
This may seem like common sense, but it can be very tempting to bang out all of the smaller parts first! Larger, multi-part pieces will not only require more iterations, but their size can also increase the likelihood of a printer crash or surface quality issues, which can lead to devastating setbacks if you do not model or plan correctly. If you can model and print that Green Lantern ring within a week, but potentially need a few weeks to make the lantern, make the latter first.
You Can Always Make Something Thicker
You will not only save a ton of money printing thinner parts, but adding bulk to parts using foam or fabric underneath can also make your pieces more modular and comfortable. Do you best though, to make sure to build your parts at a thickness that will not sacrifice its integrity. In other words, do not make something that should be a quarter of an inch an eighth of an inch to cut corners.
Understand your Materials
Going along with the previous tip, pick materials that are going to produce the best results, while being able to withstand normal wear and tear. Cons are crowded! And you're going to be bumping into A LOT of people. It's best to not bring your most valuable, fragile, and coveted items to walk around with on the show floor. If you're 3D printing, understand the qualities of the material you're printing in. If you're printing in a very flexible plastic for example, it's not a good idea to print long solid objects, as they will naturally bend. If you're printing in a fragile material that requires thicker walls, make sure you're not printing something that's going to be too heavy for you to handle.
Lastly, it's important to insure that your parts are going to be weather resistant, because there's nothing worse than a wilting costume on a wet day. If they're not weather resistant, than plan a system to temporarily cover your prints in transit.
Prioritize Function Over Flourish (at first)
When prototyping, it is always best to nail down your scale, fit, and material first before adding in all of your decorative and supplementary details. This forces you to build with design intent, for adding details in too soon could result in a rebuild of the part.

Sarah's Fenrir prototypes from left (1st test) to right (final): too small, desired size, change fasteners and add teeth, final print in final material, SLA Project 7000.
Iterate, Iterate, Iterate!
The ability to quickly iterate is why 3D printing is such a pertinent part of a diverse number of industries and personal practices; and yet, it is so easily misinterpreted or brushed over. There are so many factors at play that influence the final print- from material shrinkage and orientation to modeling mistakes- that you may not realize of their power until you get that first print. Especially when it comes to fit, going straight to final may give you an unexpected surprise, and burn a hole in your wallet.
If printing the entire part will be too costly, prototype priority sections, like areas with the most detail or the part that houses a mechanic, to save on dollars. If your model is more minimal, and it is not pertinent that you to see it in its final material, or if you have a bit more experience printing in a diverse number of materials and understand the process and results more fully, prototyping in a less expensive, but like material could be beneficial.
And another thing- break your prototypes! Handle your test parts, put them on your body, flip them about, and if they break, you only have more knowledge on how to make adjustments or redesign.

Some of our test swatches we will spray paint for Buster Sword finishing (more about this in a later blog post!)
Post-Production
Nail down your post-production technique before touching your final prints. Spend the money and get sample chips in various materials before you determine the materials that are going to give you the best results. This is extremely important because you don't want a potentially expensive mistake on your hands.
In a future post, Sarah and Dhemerae will be detailing some spray chrome tests on Shapeways' Strong and Flexible Plastic. This is so we can pick the right material finishes and painting techniques before we move onto painting and sanding the final prints.
Nothing is Perfect
Customization is a huge pull to use 3D printing for wearables, but even though we can 3D model something to exact dimensions does not necessarily mean we have kissed perfection. Due to the repeated heating and cooling of the material during the process combined with how it is orientated in the machine, the size of 3D prints can be skewed in the slightest to the significant. Make sure to research the material you are printing in, check its tolerances, and model accordingly to that information. If you have two parts that must fit together, calculate your dimensions with those tolerances. If you are making a part for your body and are a bit unsure about fit, going slightly larger is better than going smaller, for you can always add undergarments or other filler like foam to compensate.
And MOST importantly...
Be Safe
Since 3D printing and its material are relatively new, there is not much information on the potential future effects it could have on those who handle it; as young people working with 3D material from its raw form to when we are sanding it down for a project, we have no idea the potential skin, lungs, and other medical ailments we could potentially develop.
This makes taking safety precautions even more important; wear gloves, (the proper) mask, lab coats, whatever you feel you need to protect your body while you are sanding, cleaning with acetone, melting down, or working with the material in ways that "kick it up" into the air or create fumes. Most uncured 3D material can cause skin irritation, while other materials, such as the Full colored Sandstone gypsum powder and Strong and Flexible nylon powder, can get all in the air if not cleaned well, entering your mouth and lungs.
Stay tuned for our next article, where we cover specific materials that Shapeways offers and discuss which materials would be great additions to your costume!
SaveSaveSaveSaveSaveSave


Comments